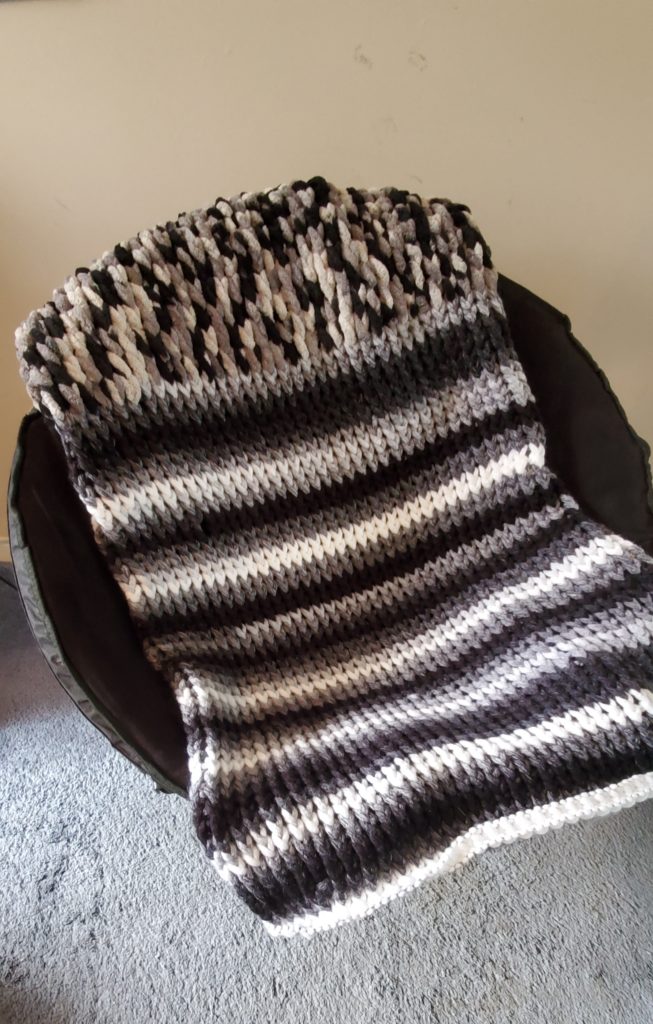
Finger Knitting for Beginners
With everything going on with the Coronavirus and switching to online school, it is very easy to feel overwhelmed and stressed out. Over spring break, I learned how to finger knit using loop yarn, and it has been a relaxing project I can go to when I need a break from working on schoolwork or am just feeling anxious or blah. Therefore, I thought I would share this project idea with my fellow UCBA students and hopefully it will help you too.
What you need for the project:
- 7 to 15 balls of loop yarn (depending on the size you want your blanket to be)
- A pair of scissors
- One Safety Pin (this will be your stitch marker)
Getting Started
Step One: Count out the number of loops for your first row- this is how wide your blanket will be.
For a small blanket- count 50 loops
For a medium blanket- count 65 loops
For a large blanket- count 80 loops (you will need 15 balls of yarn to finish a large blanket)
Step Two: Once you have counted how wide you wish your blanket to be, place your safety pin.
Step Three: Now that you have placed your stitch parker (the safety pin), take loop on the left side of your marker and twist loop to the left.
Step Four: Grab the first loop on the right side of your marker and pull it through the loop you just twisted.
Step Five: Take the next free loop on the left side of your marker, twist, and pull the next free loop on the right side through. Repeat until you run out of yarn.
How to go on to yarn ball number two without creating a hole:
Step One: Take the last two loops of yarn ball number one and cut the loops so you are left with a long strand.
Step Two: Take the first two loops of yarn ball number two and cut the loops so you are left with a long strand.
Step Three: Now that you have strands on both your current ball of yarn and new ball of yarn, begin to loop the loops together as you were doing starting with the next free loop (loop number three of your new ball of yarn).
This video that helped me out.


